The Ultimate Guide How to Install SecureUxTheme on Windows
If you love customizing your Windows desktop but hate the risk of breaking your operating system, SecureUxTheme is the tool you have been waiting for.
For years, PC enthusiasts relied on legacy patchers that physically modified core system files (uxtheme.dll). While those worked, they were notorious for causing black screen errors whenever Windows rolled out a major update.
SecureUxTheme completely revolutionizes this process. Developed by namazso, it is an in-memory patcher. It bypasses Microsoft’s theme signature verification while your computer is running, meaning it never touches or alters your system files on disk. It is incredibly safe, fully compatible with Windows 10 and 11, and even works flawlessly with Secure Boot enabled.
Here is the foolproof way to install it and start applying custom themes.
Because SecureUxTheme hooks into system memory, Windows might display a SmartScreen warning. Always click “More info” and then “Run anyway” when executing ThemeTool.exe.
Step-by-Step SecureUxTheme Installation Guide
-
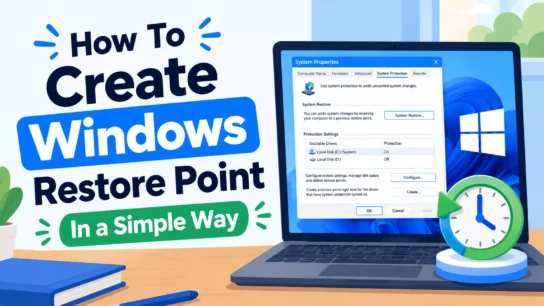
Create a System Restore Point
Always recommended.While SecureUxTheme is extremely safe compared to older tools, it is always best practice to create a restore point before installing new software. Search for Create a restore point in your Start Menu, click Create, name it “Before SecureUxTheme”, and save.
-
Download SecureUxTheme
From the official developer repository.Head over to the official SecureUxTheme repository on GitHub. Look for the “Releases” section on the right side of the page, and download the latest version of
ThemeTool.exe. -
Run ThemeTool as Administrator
Right-click the
ThemeTool.exefile you just downloaded and select Run as administrator. Because it hooks into your system’s memory, Windows might display a SmartScreen warning. Click “More info” and then “Run anyway.” -
Install the System Hook
The most important step.In the ThemeTool window, look at the top right section under Installation. Check the box that says Hook LogonUI (this ensures your custom themes also apply to the Windows lock screen and login screen). Finally, click the Install button.
-
Restart Your Computer
Once the tool confirms the installation was successful, reboot your PC. The software needs a fresh startup to hook into the system memory correctly.
-
Install and Apply Custom Themes
Applying your new look.Download a compatible third-party theme (ensure it matches your Windows build version). Extract the downloaded folder and copy the theme files into
C:\Windows\Resources\Themes.To apply it, open
ThemeTool.exeagain as an administrator. Select your new theme from the list on the left side of the window, and click Patch and Apply at the bottom right.
Troubleshooting & Best Practices
- Do Not Use Windows Settings to Apply Themes: Unlike older patchers, you should not use the default Windows Personalization menu to switch themes. Always use the ThemeTool.exe interface to select and apply your custom themes to ensure they render correctly without glitches.
- Surviving Windows Updates: Because SecureUxTheme does not modify files on your hard drive, Windows updates generally won’t break your PC or cause black screens. However, an update might reset your theme to the Windows default. If this happens, simply open
ThemeTool.exeand hit “Patch and Apply” again. - Uninstalling SecureUxTheme: If you want to return your PC to its factory state, just open
ThemeTool.exeas an administrator, click the default Windows theme, and hit apply. Then, click the Uninstall button in the top right corner and reboot your system. It leaves zero traces behind.
Alternatives to SecureUxTheme
While SecureUxTheme is currently the safest and most recommended way to apply custom visual styles on modern Windows systems, there are a few other options depending on your specific customization goals.
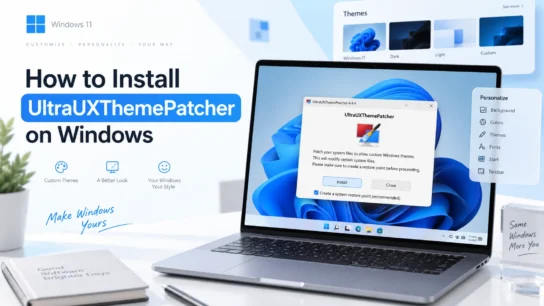
UltraUXThemePatcher (The Legacy Method)
Before SecureUxTheme existed, UltraUXThemePatcher was the standard tool for custom themes. It works by physically modifying three core Windows DLL files on your hard drive to allow unsigned themes to run.
Why choose it: It is widely supported by older themes and tutorials.
The downside: Because it alters system files on your disk, major Windows updates frequently overwrite the patched files, which can cause black screen errors or system instability upon rebooting.
Frequently Asked Questions
Is SecureUxTheme safe to use on Windows 11?
Yes, SecureUxTheme is currently the safest way to apply custom themes on Windows 10 and 11. Unlike older tools, it is an in-memory patcher that does not modify or replace core system files on your hard drive, making it fully compatible with Secure Boot and significantly reducing the risk of system crashes.
Will Windows updates break SecureUxTheme?
Because SecureUxTheme does not alter physical system files, Windows updates are highly unlikely to cause the notorious ‘black screen’ errors associated with legacy patchers. However, a major update might reset your desktop to the default Windows theme. If this happens, simply open ThemeTool.exe and reapply your custom theme.
Why isn’t my custom theme working when I apply it from Windows Settings?
When using SecureUxTheme, you must completely avoid using the default Windows Personalization settings menu to switch themes. To ensure your themes render correctly without visual glitches, you should only apply them using the ‘Patch and Apply’ button inside the ThemeTool.exe interface.
How do I completely uninstall SecureUxTheme?
Uninstalling is incredibly easy and leaves no traces. Open ThemeTool.exe as an administrator, select the default Windows theme, and click ‘Patch and Apply’. Then, click the ‘Uninstall’ button in the top right corner of the tool and restart your computer.