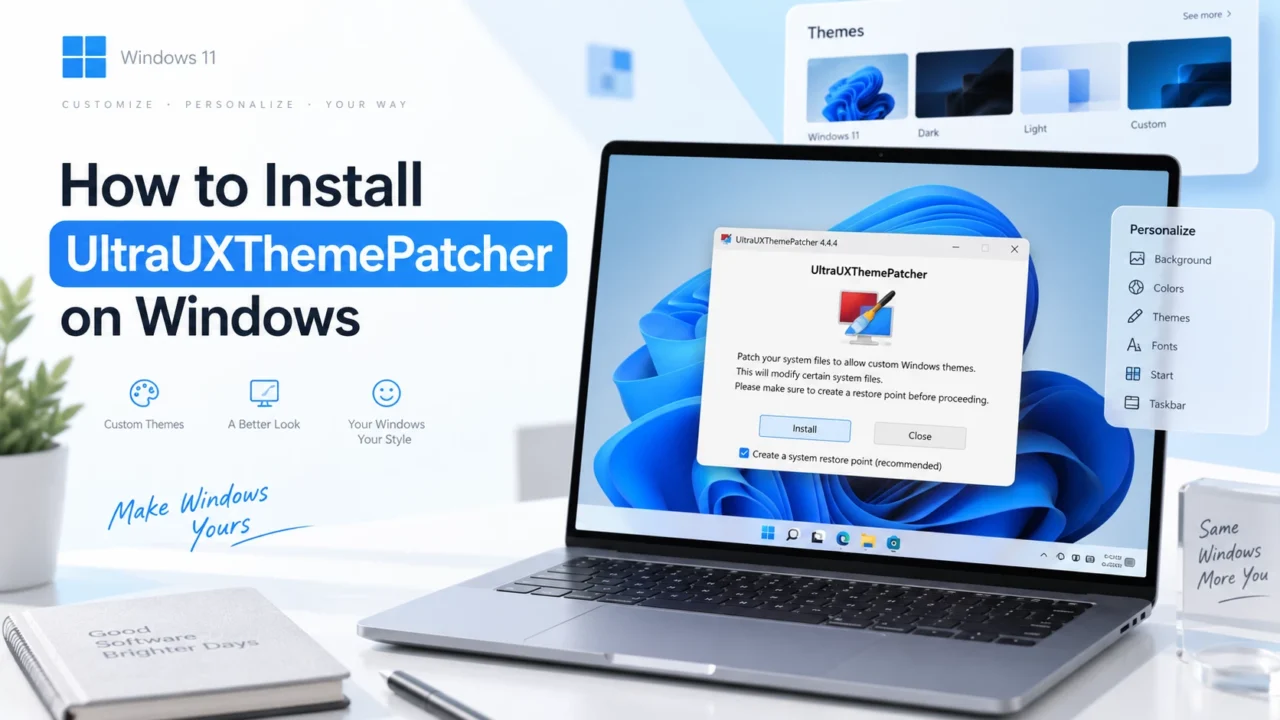
How to Install UltraUXThemePatcher – Safely Apply Custom Windows Themes
By default, Microsoft restricts Windows from loading visual styles and themes that aren’t digitally signed by the company. If you want to deeply customize your desktop with third-party themes, you need to bypass this restriction.
UltraUXThemePatcher, developed by Manuel Hoefs, is the standard tool for enabling these customizations. It works by modifying a small set of core Windows system DLLs ( themeui.dll, and uxinit.dll) so that unsigned .msstyles theme files can load seamlessly.
Here is exactly how to install the patcher safely on your Windows 10 or Windows 11 PC.
Major Windows feature updates can overwrite your patched system files. It is highly recommended to revert to the default Windows theme and temporarily uninstall the patcher before applying large OS updates to prevent boot issues or black screens.
Step-by-Step install UltraUXThemePatcher Guide
Because this tool modifies core Windows files, order is critical. Follow these steps exactly to avoid system instability.
-
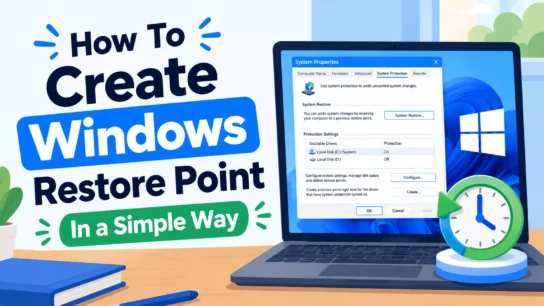
Create a System Restore Point
Crucial safety stepNever skip this. Open your Windows Start Menu, search for Create a restore point, and press Enter. Click the Create button, name it “Before UXTheme”, and save. If a Windows update conflicts with the patcher later, this allows you to revert your system safely.
-
Download the Patcher
Verify your Windows versionGo to the official developer website (mhoefs.eu) and download the latest version of UltraUXThemePatcher. Check the site’s release notes to confirm that your specific Windows 10 or Windows 11 build is supported.
-
Run the Installer as Administrator
Admin privileges requiredRight-click the downloaded
.exefile and select Run as administrator. Because the tool alters system files, your antivirus or Windows Defender might flag it. This is a known false positive, but you must temporarily allow it through to proceed. -
Patch the System Files
Takes just a few secondClick through the setup wizard. The software will analyze your system and display the status of your DLL files. If it says your build is supported, click Install. The software will automatically back up your original files before modifying them.
-
Restart Your Computer
RequiredOnce the installation finishes, you will be prompted to reboot. The patched files will not take effect until Windows completely restarts.
-
Apply Custom Themes
Required to see changesDownload a third-party theme and extract the folder. Copy the theme files into
C:\Windows\Resources\Themes. Finally, right-click your desktop, navigate to Personalize > Themes, and select your new look.
What to Do If Files Stay “Unpatched”
Sometimes, even after running UltraUXThemePatcher as an administrator, the setup wizard will still show the status of the files as Unpatched. This happens because Windows aggressively protects these files using a hidden system account called “TrustedInstaller,” which actively blocks the patcher from making changes.
To fix this, you must manually take ownership of the two specific DLL files so you have permission to modify them.
You are about to change permissions for core Windows system files. Only modify the two specific files listed below. Do not delete, move, or rename them. Ensure your System Restore point is active before proceeding.
-
Locate the Protected Files
C:\Windows\System32Open File Explorer and navigate to your
C:\Windows\System32folder. You will need to apply the following steps to two specific files:themeui.dll, anduxinit.dll. Start withthemeui.dll. -
Open Advanced Security Settings
Right-click themeui.dll and select Properties. Go to the Security tab and click the Advanced button near the bottom.
-
Change the File Owner
Requires admin passwordAt the top of the Advanced Security window, you will see the Owner is listed as “TrustedInstaller”. Click Change right next to it. In the text box that appears, type Administrators and click Check Names. Click OK.
-
Grant Full Control
Back on the first Security tab, click Edit to change permissions. Select Administrators from the list, and check the box for Full control under the Allow column. Click Apply and then OK. To verify this worked, you should no longer see a grayed-out checklist when you select Administrators.
-
Repeat for the Remaining Files
Perform Steps 2 through 4 exactly the same way for
uxinit.dll. -
Run UltraUXThemePatcher Again
Once you have full control of all two files, right-click the UltraUXThemePatcher
.exeand select Run as administrator. The tool will now have the permissions required to modify the files, and the status should change to “Patched” after you finish the setup.
Troubleshooting & Best Practices
Windows Updates: Major Windows feature updates often overwrite patched DLL files, reverting your custom themes to the default Windows look. Always switch back to the default Windows theme before updating your OS. Once the update is done, you may need to download a newer version of UltraUXThemePatcher to re-patch the system.
Black Screen Errors: If your computer boots to a blank screen after an update, enter the Windows Recovery Environment and roll back to the System Restore point Before you created in Step 1.
Removing the Patcher: If you ever want to uninstall it, simply open Add or Remove Programs, find UltraUXThemePatcher, and click uninstall. It will automatically restore your original, unpatched files.
Alternatives to UltraUXThemePatcher
If modifying core system DLL files sounds too risky or if you are tired of your themes breaking every time Windows updates there are safer alternatives that achieve similar results without permanently altering system files.
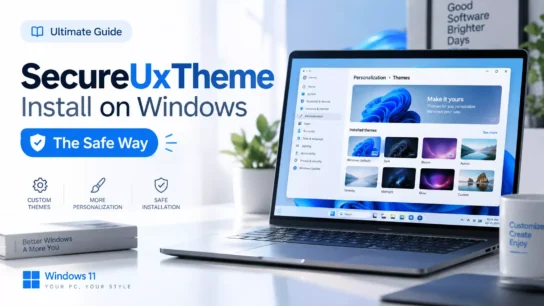
SecureUxTheme (The Best Free Alternative)
SecureUxTheme is an open-source tool that has largely replaced UltraUXThemePatcher for modern Windows users. Instead of permanently rewriting your themeui.dll file on your hard drive, it works in the background and hooks into the process in your system memory.
- Why it’s better: Because it does not modify the physical files, Windows updates are much less likely to break your system or cause a black screen. It is also fully compatible with Secure Boot.
- Best for: Users who want to use third-party
.msstylesthemes from DeviantArt but want a safer, modern installation method.
Frequently Asked Questions (FAQ)
Is UltraUXThemePatcher safe to install?
UltraUXThemePatcher modifies core Windows system files to allow third-party custom themes. While generally safe when used correctly, it carries some risk of system instability, especially during major Windows updates. You should always create a System Restore point before installing it.
How do I fix the ‘Unpatched’ error in UltraUXThemePatcher?
If the tool says your files are ‘Unpatched’, the Windows TrustedInstaller account is blocking the modifications. You need to manually take ownership of themeui.dll, and uxinit.dll in the System32 folder, grant Administrators Full Control, and then run the patcher again as an administrator.
Why do my custom Windows themes break after an update?
Major Windows feature updates often overwrite your patched DLL files with fresh, original copies. This resets your custom themes to the default Windows look. To prevent black screen errors, you should switch back to the default Windows theme before updating your OS.
What are the best alternatives to UltraUXThemePatcher?
The best free alternative is SecureUxTheme, which applies themes in your system memory rather than modifying physical files, making it much safer during updates. For a premium, highly stable option that doesn’t patch system files at all, Stardock WindowBlinds is the top choice.