How to Create a Windows Restore Point in Windows 10 & 11 (Step-by-Step Guide)
Creating a Windows restore point is one of the smartest precautions you can take before making major changes to your PC. If a new software installation, driver update, or system tweak causes crashes or errors, System Restore can instantly roll your computer back to a stable, earlier state.
In this comprehensive guide, you will learn exactly how to create a Windows restore point in Windows 10 and Windows 11, how to enable System Protection, how to verify your restore points, and how to use them to fix a broken system.
What Is a Windows Restore Point?
A restore point is essentially a “snapshot” of your Windows system files, registry settings, and installed drivers at a specific moment in time.
If your system breaks, System Protection uses this snapshot to roll back those specific system configurations without affecting your personal documents, photos, or videos. It is the ultimate “undo” button for your operating system.
Why Should You Create a Restore Point?
While Windows can create restore points automatically, relying solely on automatic points is risky because they can be deleted during system updates or disk cleanups. Creating a manual restore point gives you guaranteed control.
You should always create a manual restore point before:
- Installing or updating hardware device drivers (like GPU drivers).
- Installing system-level software or deep customization tools.
- Modifying advanced Windows registry settings.
- Testing unfamiliar third-party utilities.
- Making significant changes to your Windows configuration.
- Installing Windows customization tools
How to Create a Restore Point in Windows 11 and Windows 10
The process is identical for both Windows 10 and Windows 11. The easiest method is through the built-in Control Panel interface.
-
Open System Protection Settings
- Click the Start button (or press the Windows key).
- Type Create a restore point into the search bar.
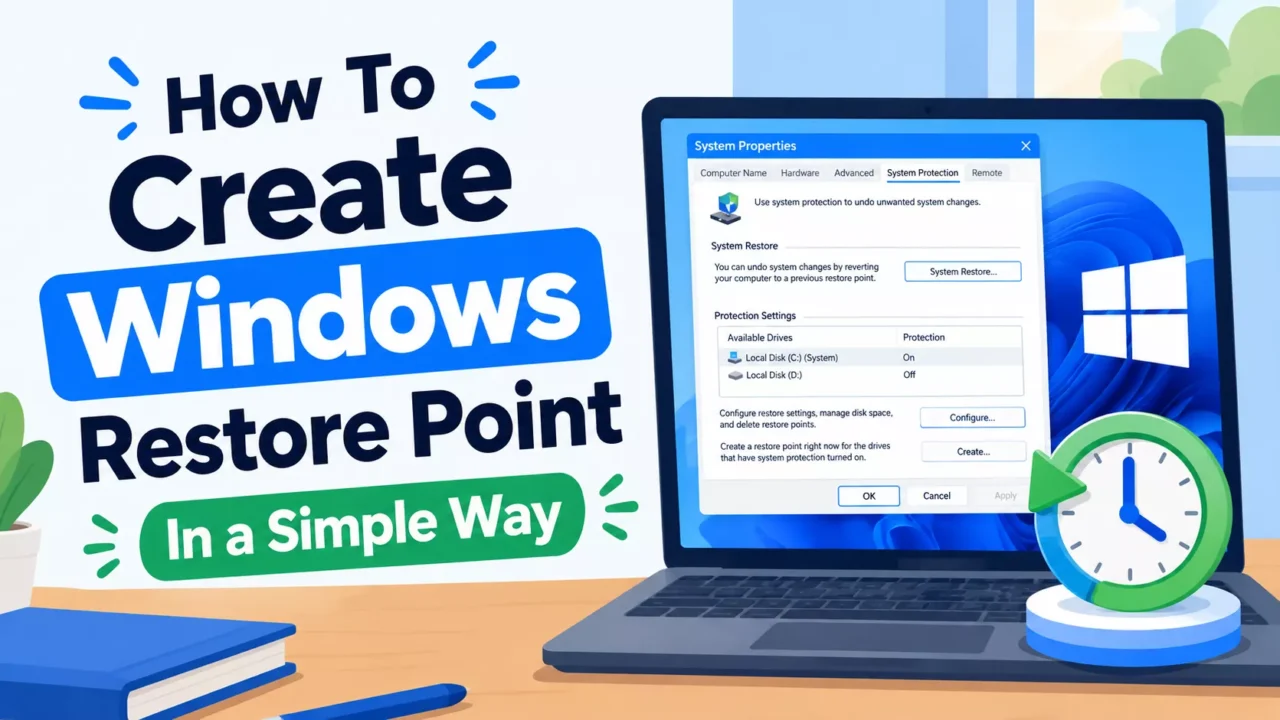
- Click on the Create a restore point result from the search list. This will open the System Properties window directly to the System Protection tab.
-
Check and Enable System Protection
Before you can create a point, the feature must be turned on.- In the System Properties window, look at the Protection Settings section.
- Locate your main Windows drive (usually Local Disk (C:)).
- Check the “Protection” column. If it says Off, click on the drive to highlight it, then click the Configure button below.
- Select Turn on system protection.
- Optional: Adjust the “Max Usage” slider to allocate disk space for restore points (3% to 5% is usually plenty).
- Click Apply, then OK.
-
Create the Restore Point
- Back on the System Protection tab, ensure your C: drive is selected.
- Click the Create… button at the bottom.
- A new window will pop up asking for a description.
-
Name Your Restore Point
Give your restore point a clear, descriptive name so you can easily identify it later. Good examples include:- Before installing Nvidia Graphics Driver
- Before installing UltraUXThemePatcher
- Before Windows Registry Tweaks
- Before installing [Software Name]
Click Create. Once the progress bar finishes, Windows will display a “The restore point was created successfully” message. Click Close.
Shortcut: How to Create a Restore Point Using the Run Command
If you prefer keyboard shortcuts, you can bypass the Start menu search and open System Protection directly.
- Press Windows Key + R to open the Run dialog box.
- Type
systempropertiesprotection.exeand press Enter. - Select your C: drive, click Create, name your restore point, and click Create again to finish.
How to Check if Your Restore Point Was Created
Want to verify that your manual restore point was saved successfully? You can check the list without actually restoring your PC.
- Search for and open Create a restore point.
- In the System Properties window, click the System Restore… button.
- Click Next on the wizard that pops up.
- You will now see a list of all available restore points, complete with dates, times, and descriptions.
- Simply click Cancel to exit the wizard without making any changes.
How to Restore Windows Using a Restore Point
If a recent change broke your PC, here is how to use System Restore to fix it.
- Press Windows Key + R to open the Run dialog.
- Type
rstrui.exeand press Enter. (Alternatively, search for System Restore in the Start menu). - Click Next on the welcome screen.
- Select the restore point you want to revert to from the list.
- (Optional) Click Scan for affected programs to see which apps or drivers will be uninstalled during the rollback.
- Click Next, then Finish.
- Confirm the prompt. Your PC will restart and begin the restoration process. Do not turn off your computer during this process.
Restore Point vs. File Backup: What’s the Difference?
Many users confuse System Restore with a full PC backup. They serve two entirely different purposes.
| Feature | Windows Restore Point | Full File Backup |
|---|---|---|
| Primary Purpose | Fixes broken Windows system files and settings. | Protects and recovers personal data. |
| Protects Personal Files? | No. (Documents/photos are untouched, but not backed up). | Yes. |
| Use Before Installing Apps? | Yes. Provides an “undo” button for system changes. | Yes. Good for general safety. |
| Recovers Deleted Files? | No. | Yes. |
The Golden Rule: A restore point is not a replacement for a regular backup. Always keep a separate backup of your important personal files on an external drive or cloud storage.
Frequently Asked Questions (FAQ)
How do I create a restore point in Windows 11?
Click the Start menu, type “Create a restore point,” and open the system settings. Select your C: drive, click “Create,” type a description, and click “Create” again to save the snapshot.
How do I create a restore point in Windows 10?
The process is identical to Windows 11. Search for “Create a restore point” in the Start menu, open the System Protection tab, select your system drive, click “Create,” name it, and confirm.
Does a restore point back up my personal files?
No. System Restore only affects system files, registry settings, and installed programs. It does not back up or restore personal files like documents, photos, or emails
Can I create a restore point before installing software?
Yes, and it is highly recommended. Creating a manual restore point before installing system-level software, drivers, or customization tools gives you a safe way to undo the changes if the software causes system instability.
How do I restore my PC to a previous restore point?
Press Windows + R, type rstrui.exe, and press Enter. Follow the System Restore wizard to select a previous restore point and click “Finish” to begin the rollback process.
Conclusion
Creating a Windows restore point is a quick, free, and highly effective way to protect your PC before making important system changes. Whether you are updating drivers, tweaking the registry, or installing heavy software, having a recent manual restore point ensures you always have a safe way to recover from unexpected errors.
To get started, simply search for Create a restore point in your Start menu, ensure System Protection is enabled, and click Create.
Remember: System Restore fixes your operating system, but it doesn’t back up your personal data. Pair your restore points with a regular file backup strategy for complete peace of mind.